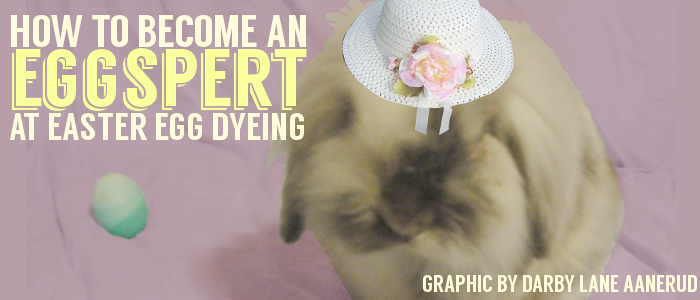
There will be no need for assistance from the easter bunny this Easter. With this tutorial, you will learn 5 creative yet simple ways to decorate your eggs.
Before starting to dye your eggs, they should be hardboiled. Once they have been hardboiled, allow them to cool down. Dying can get very messy and can damage surfaces, so lay out newspapers on your work area. Also be sure to purchase a dye set and follow the directions on the package to make different colored dyes.
1. The Polka Dot Egg
Supplies:
- Hard boiled egg
- Easter egg dye
- Glue dots or circular stickers
- Paint
- Unused wooden pencil (make sure the eraser at the end is unused)
There are two options for polka dot eggs. One requires glue dots or circular stickers in order to make a colored egg with white dots. The second requires paint and an unused wooden pencil in order to create a colored egg with colored dots.
White polka-dotted egg
Take a hardboiled egg and press on glue dots or circular stickers to it firmly, making sure the edges stick to the egg. If you want the polka dot formation to look perfect, use the triangle method. Dunk the egg in a colored dye and wait a few moments until it is your desired shade. Take egg out and allow it to dry. Then remove glue dots or circular stickers, revealing the white dots.
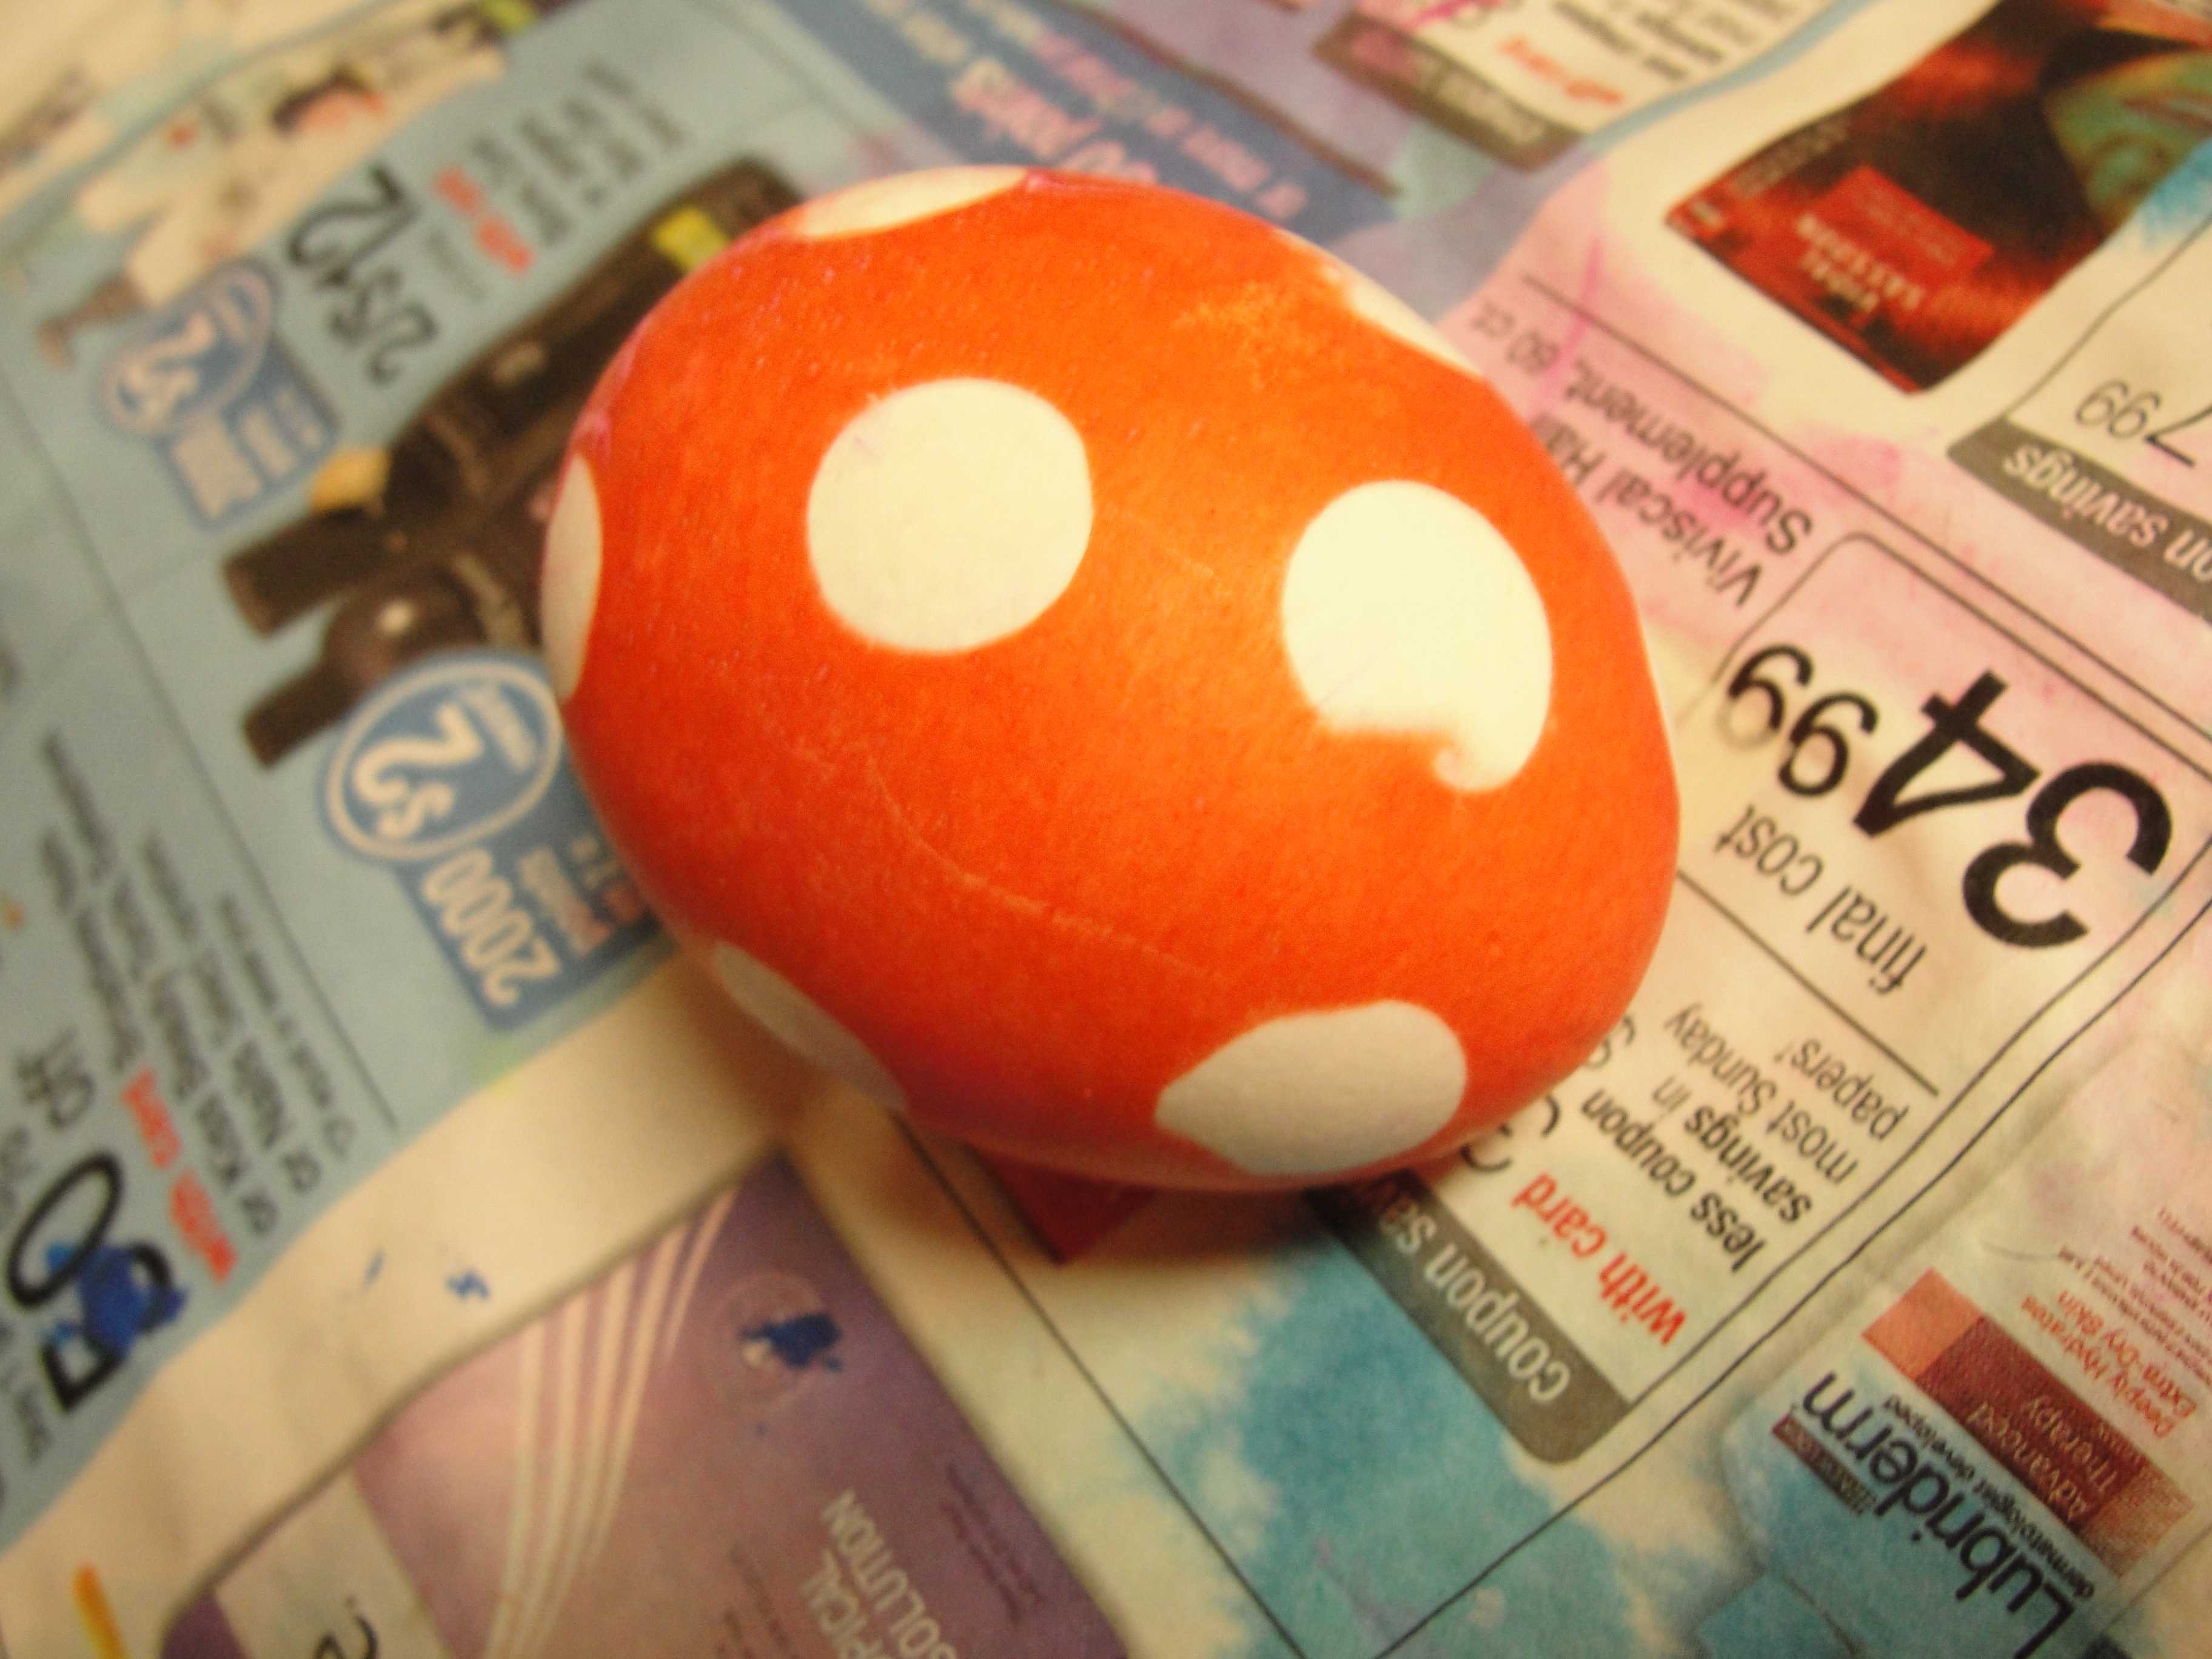
The triangle method: Create a line of dots around the egg spaced evenly. Then to make a new line, place a dot in between two dots below or above. This will look like a triangle. Branch off triangles in order to cover the whole egg.
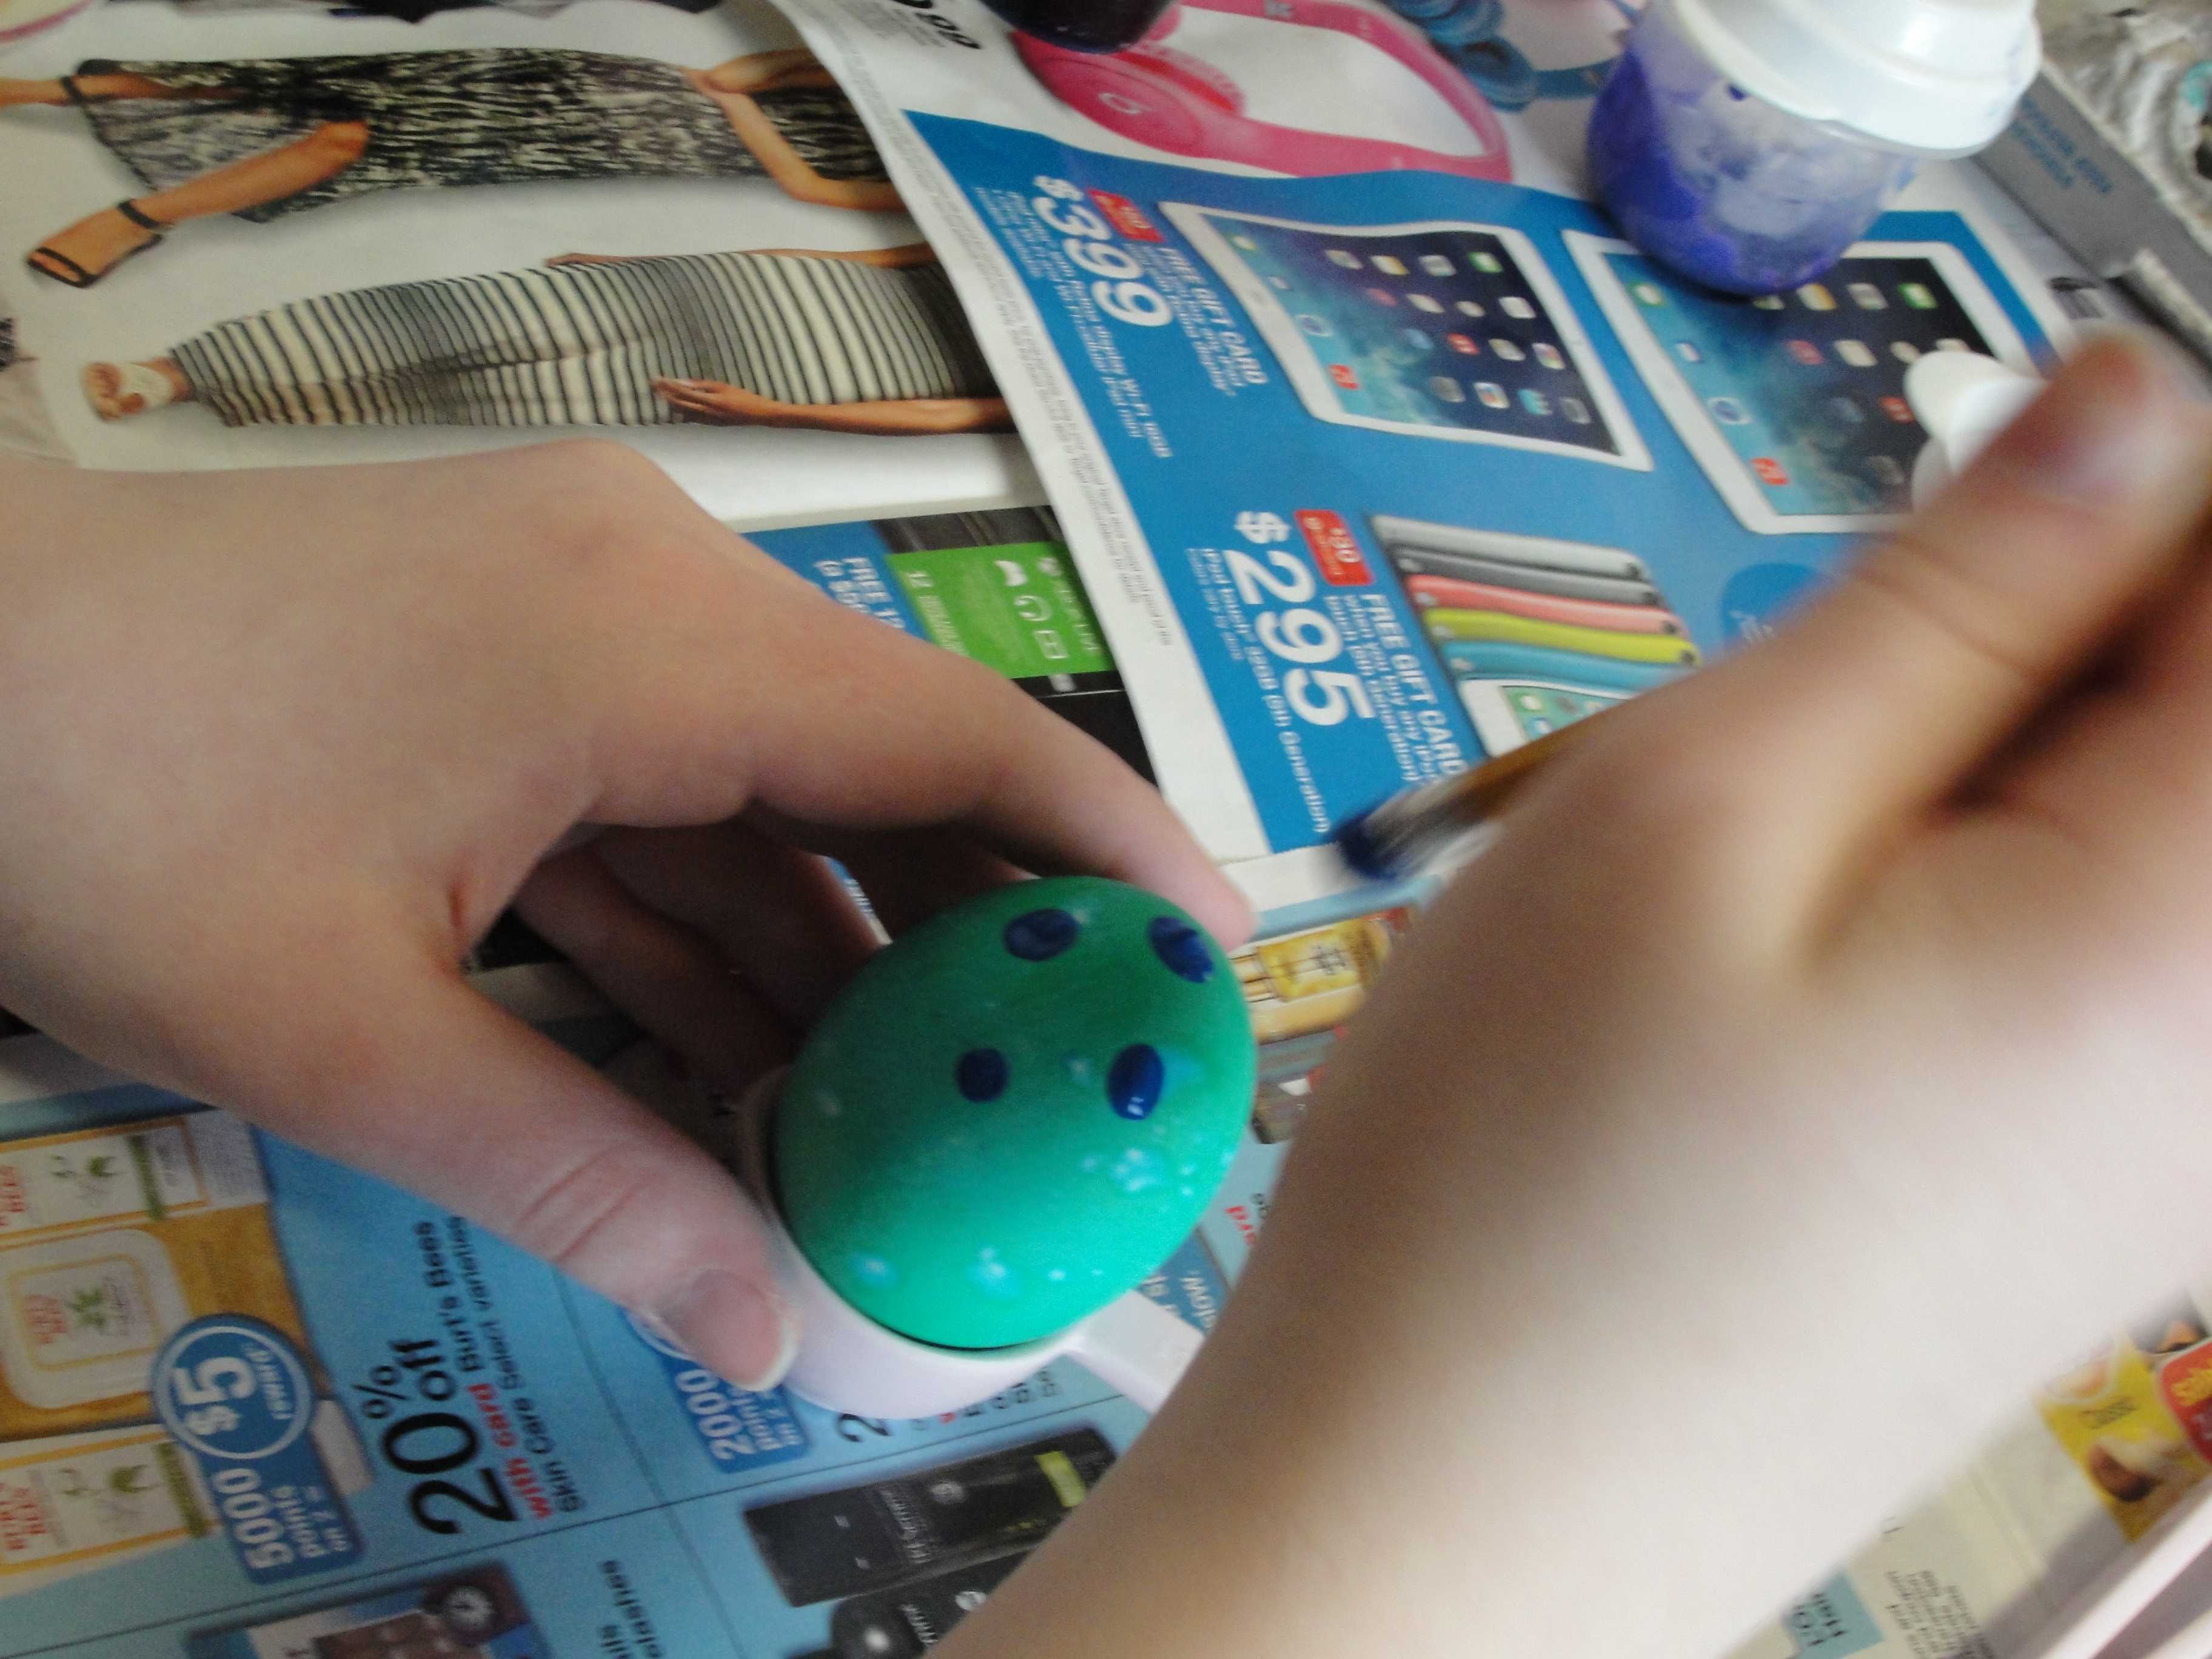
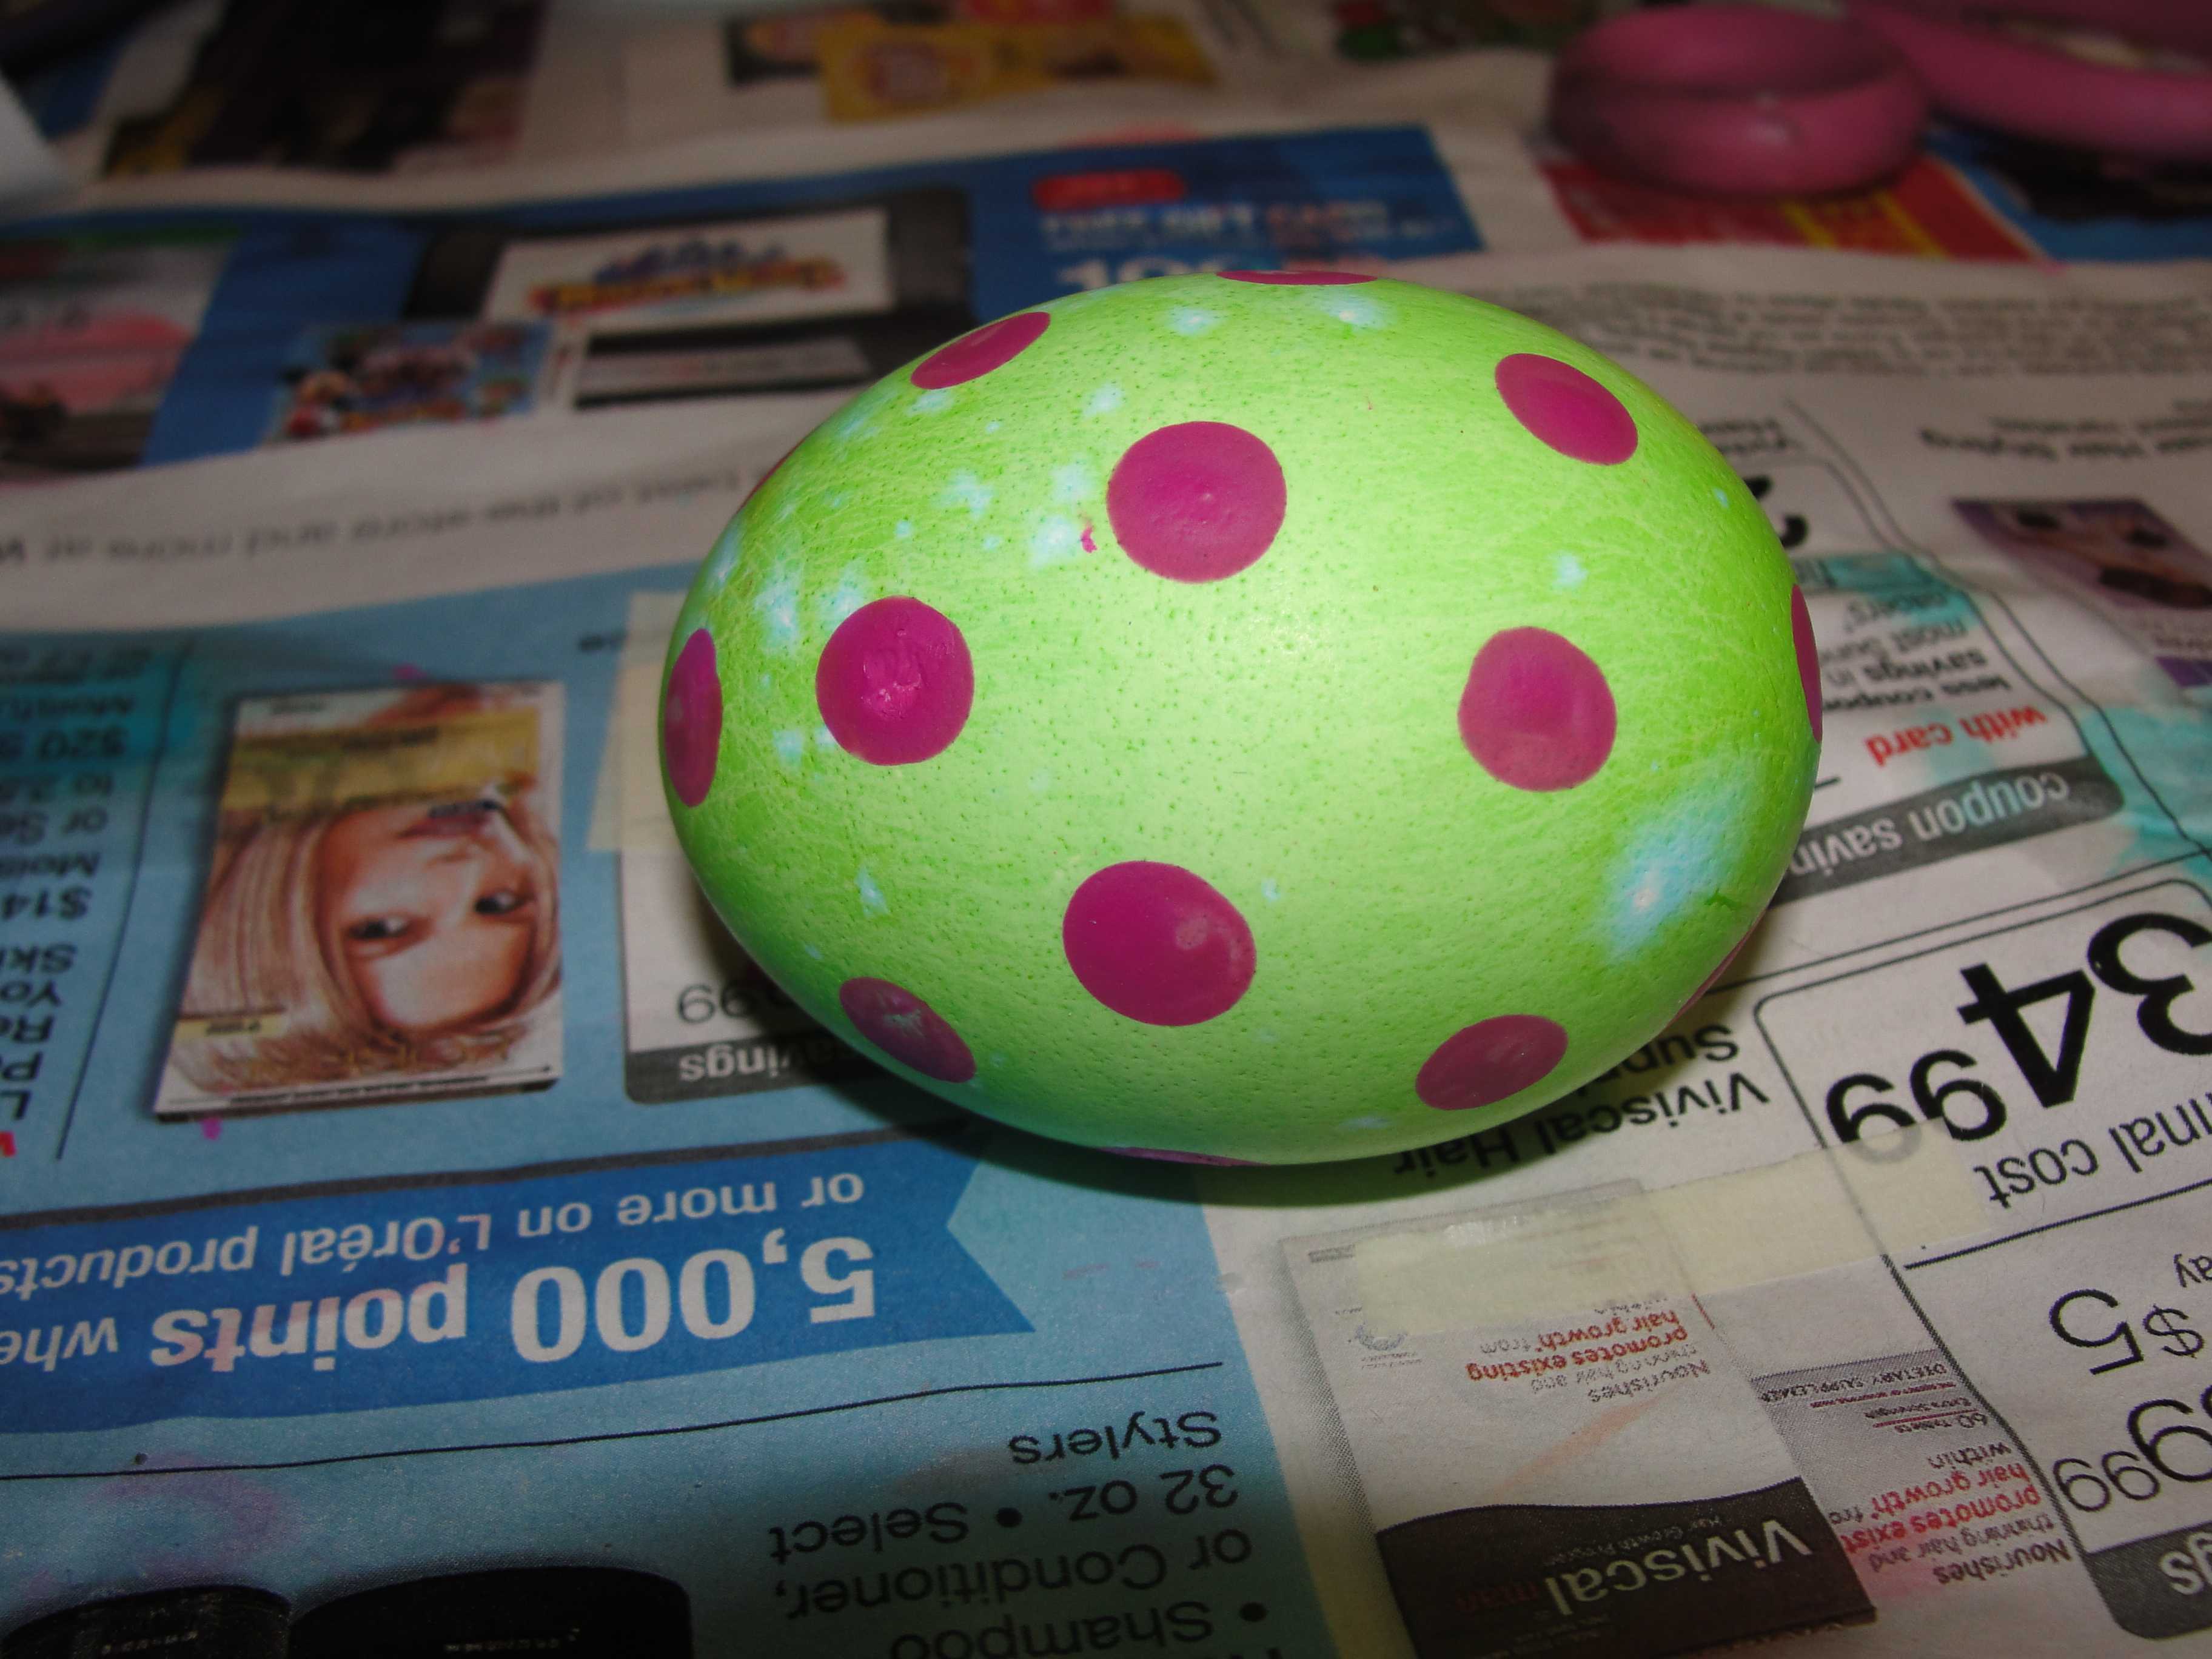
Colored egg with colored dots
Take a hardboiled egg and dunk it in a colored dye. Wait a few moments until it is your desired shade and then remove. Allow it to completely dry. This may take a while, so you can watch this video of bunnies at a jumping competition while you wait. How cute.
Once the egg is dry, you can now paint polkadots onto it. Dip the eraser of an unused pencil into paint and then carefully make dots on the egg, using the triangle method explained above.
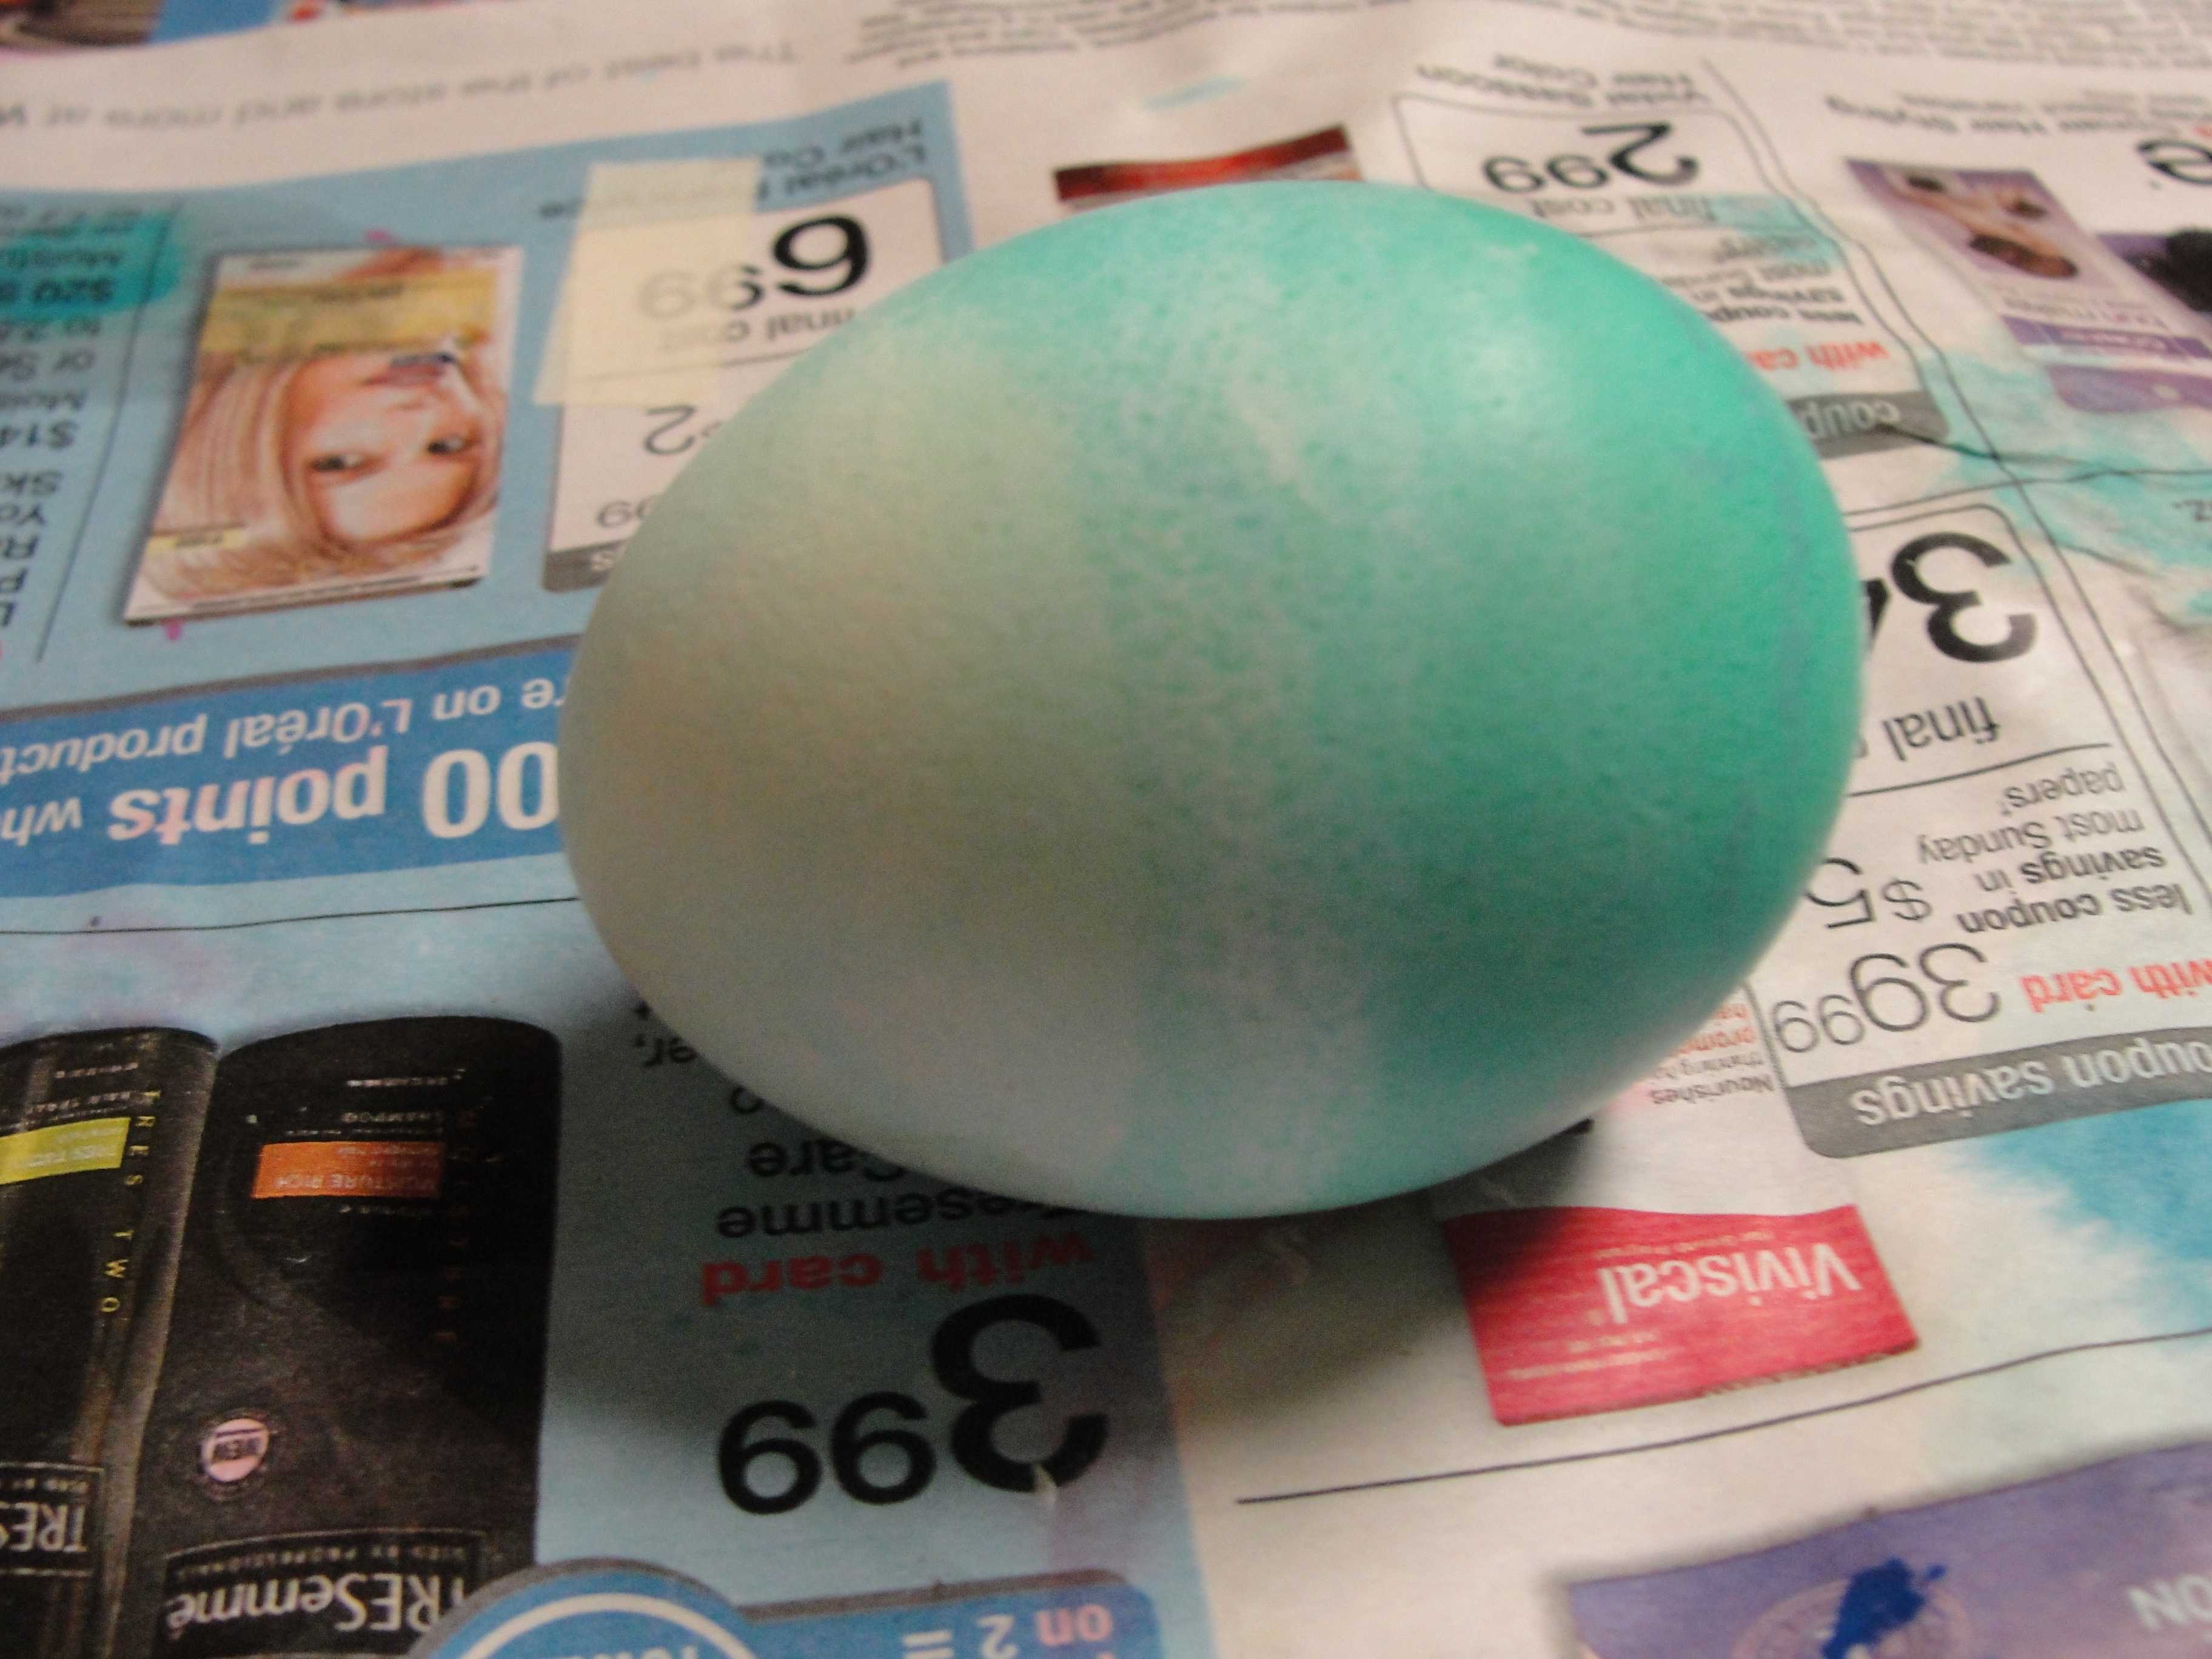
2. The Ombre Egg
Supplies:
- Hardboiled egg
- Easter egg Dye
Use a spoon or wire dipper that comes with easter egg dying kits to dip a third of the egg into a colored dye (darker colors such as red, blue, and green are reccomended). Wait at least 20 seconds and then dip another 3rd into the dye. Hold another 15 seconds and then dip about half of the other 3rd into the dye for 10 seconds. Repeat if darker colors or contrast in a layer is desired.
3. The Collage Egg
Supplies:
- Hardboiled egg
- Mod Podge or rubber cement glue
- Newspaper or magazine clippings
This is probably the easiest egg to make and it looks great too! Look through recent newspapers or magazines for Easter ads. Cut out things that relate to easter (ex. Eggs, bunnies, chickens, flowers, candy, etc.). You can even use words from the ads. This is some of what I found in a recent newspaper to use on my eggs.
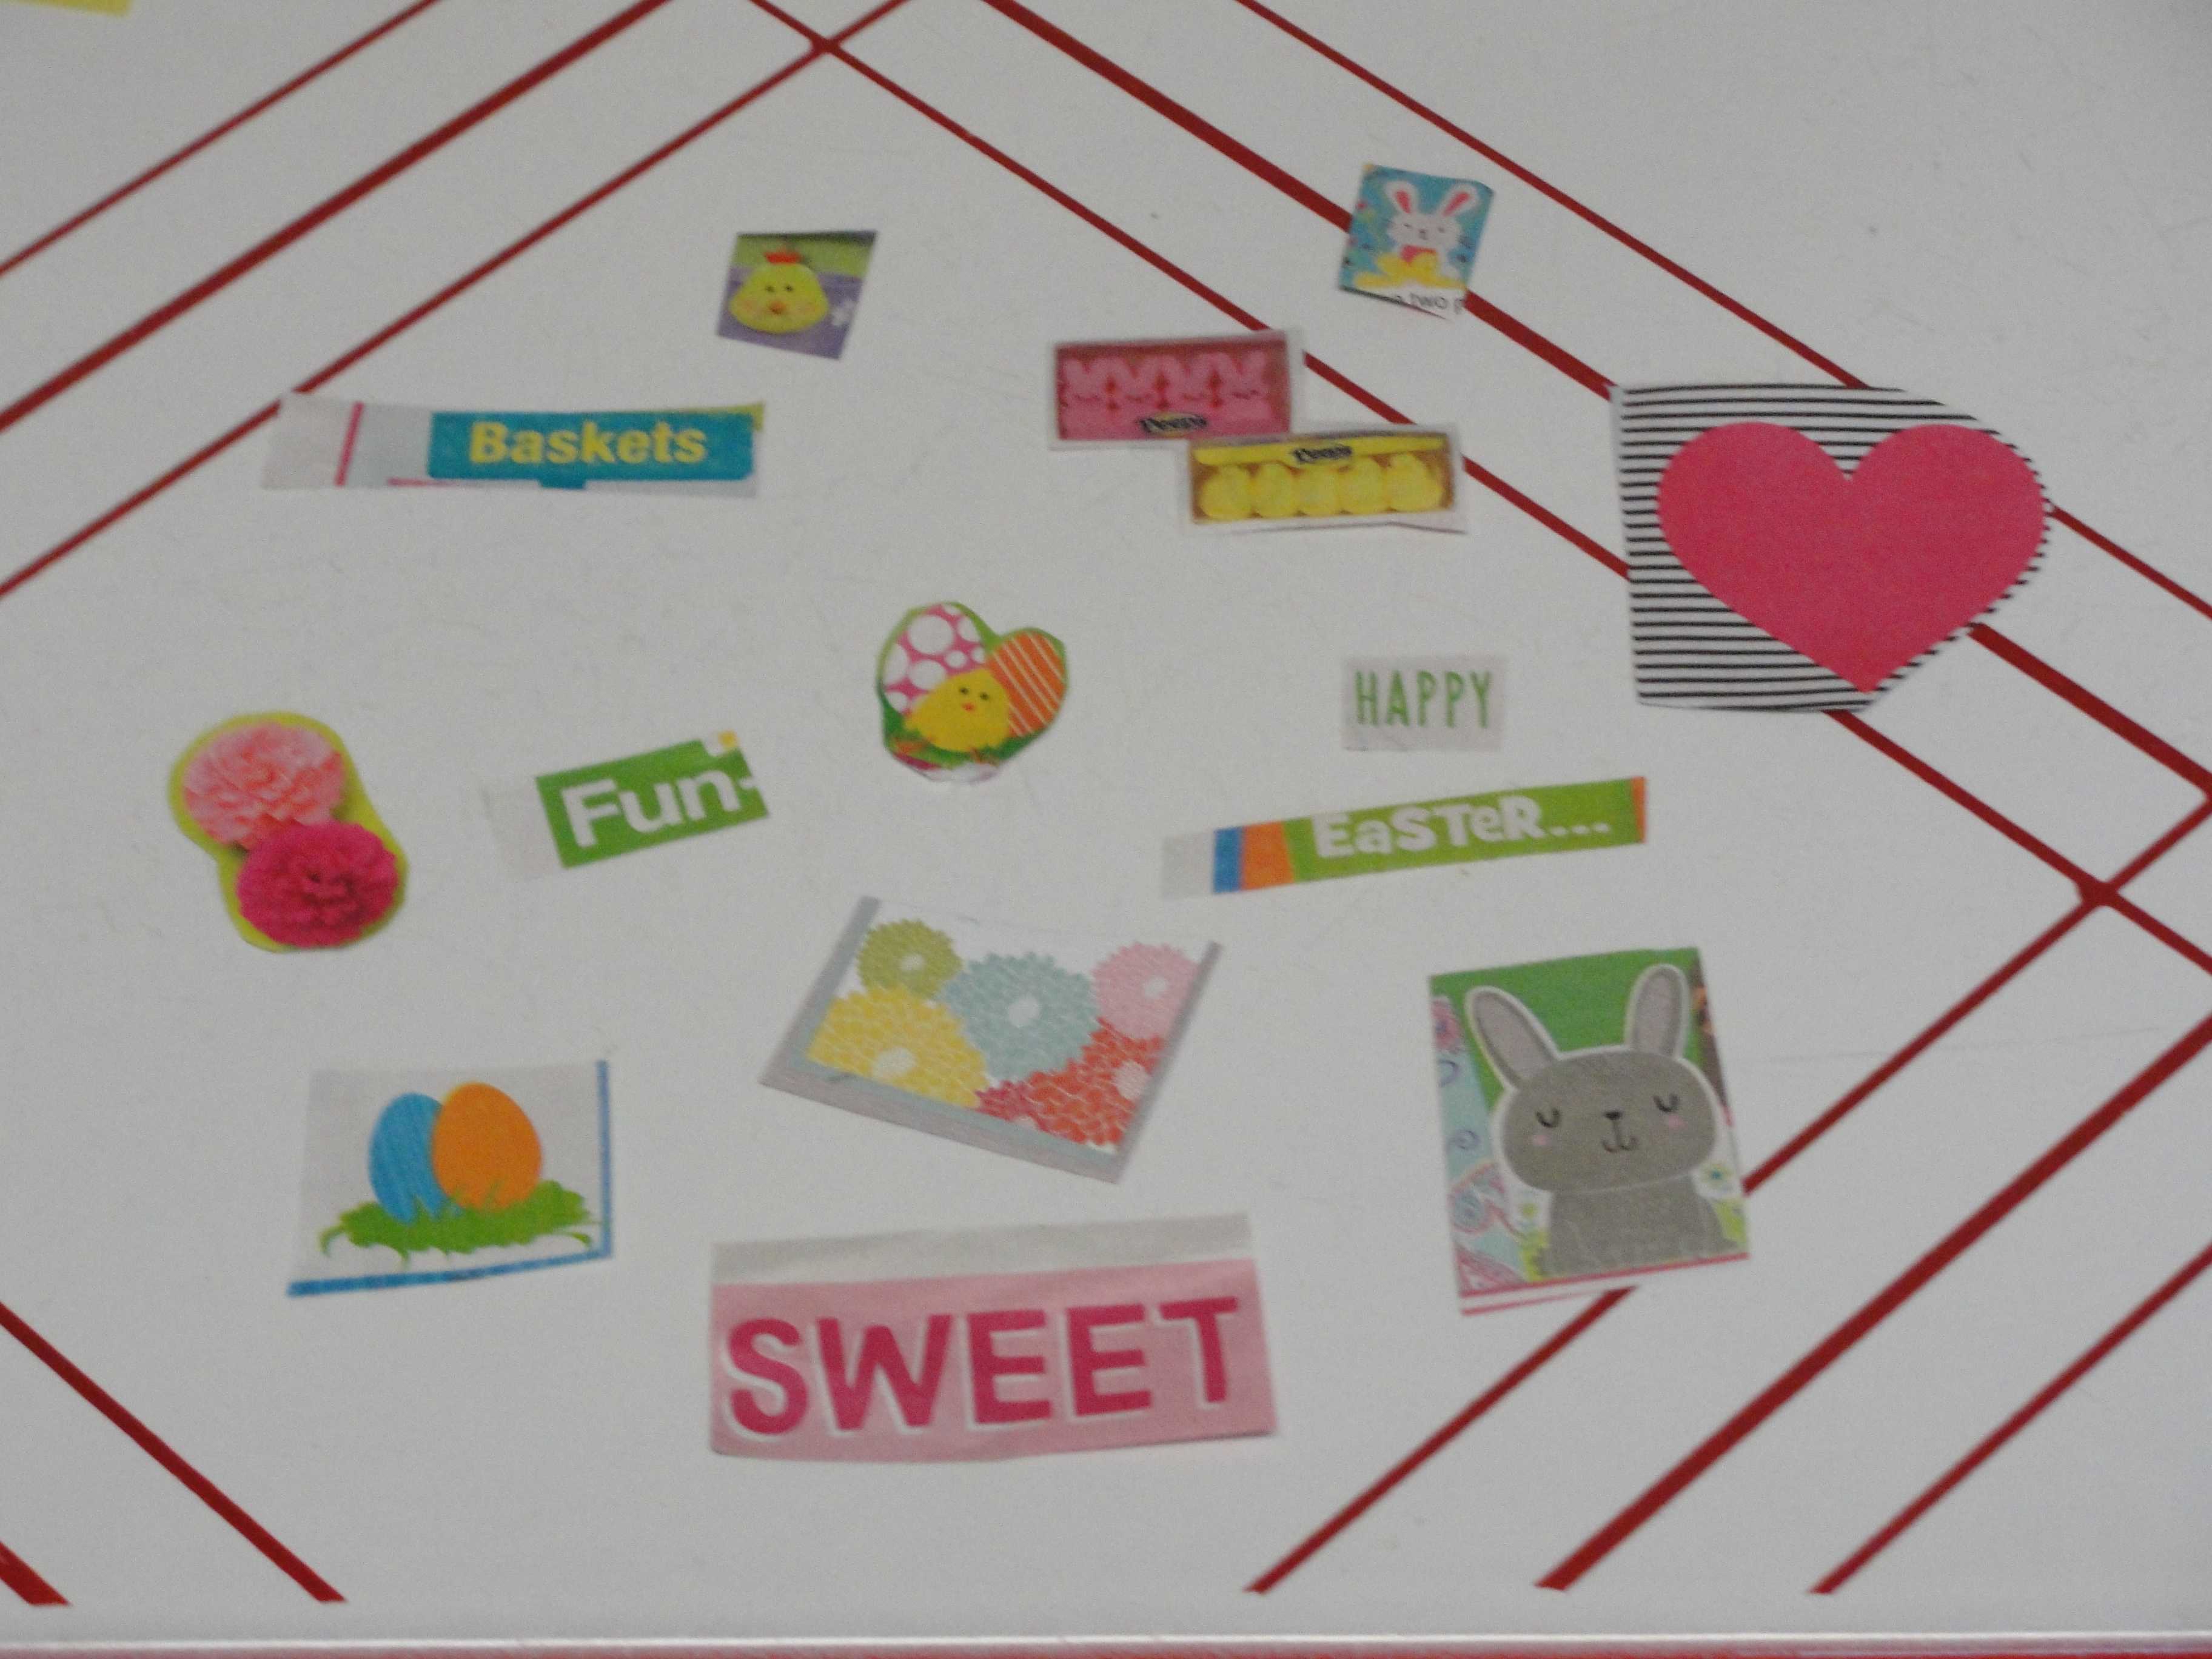
Use glue to paste clippings onto the egg. Don’t hesitate to overlap images or words. Make sure that the clippings are glued on all the way.

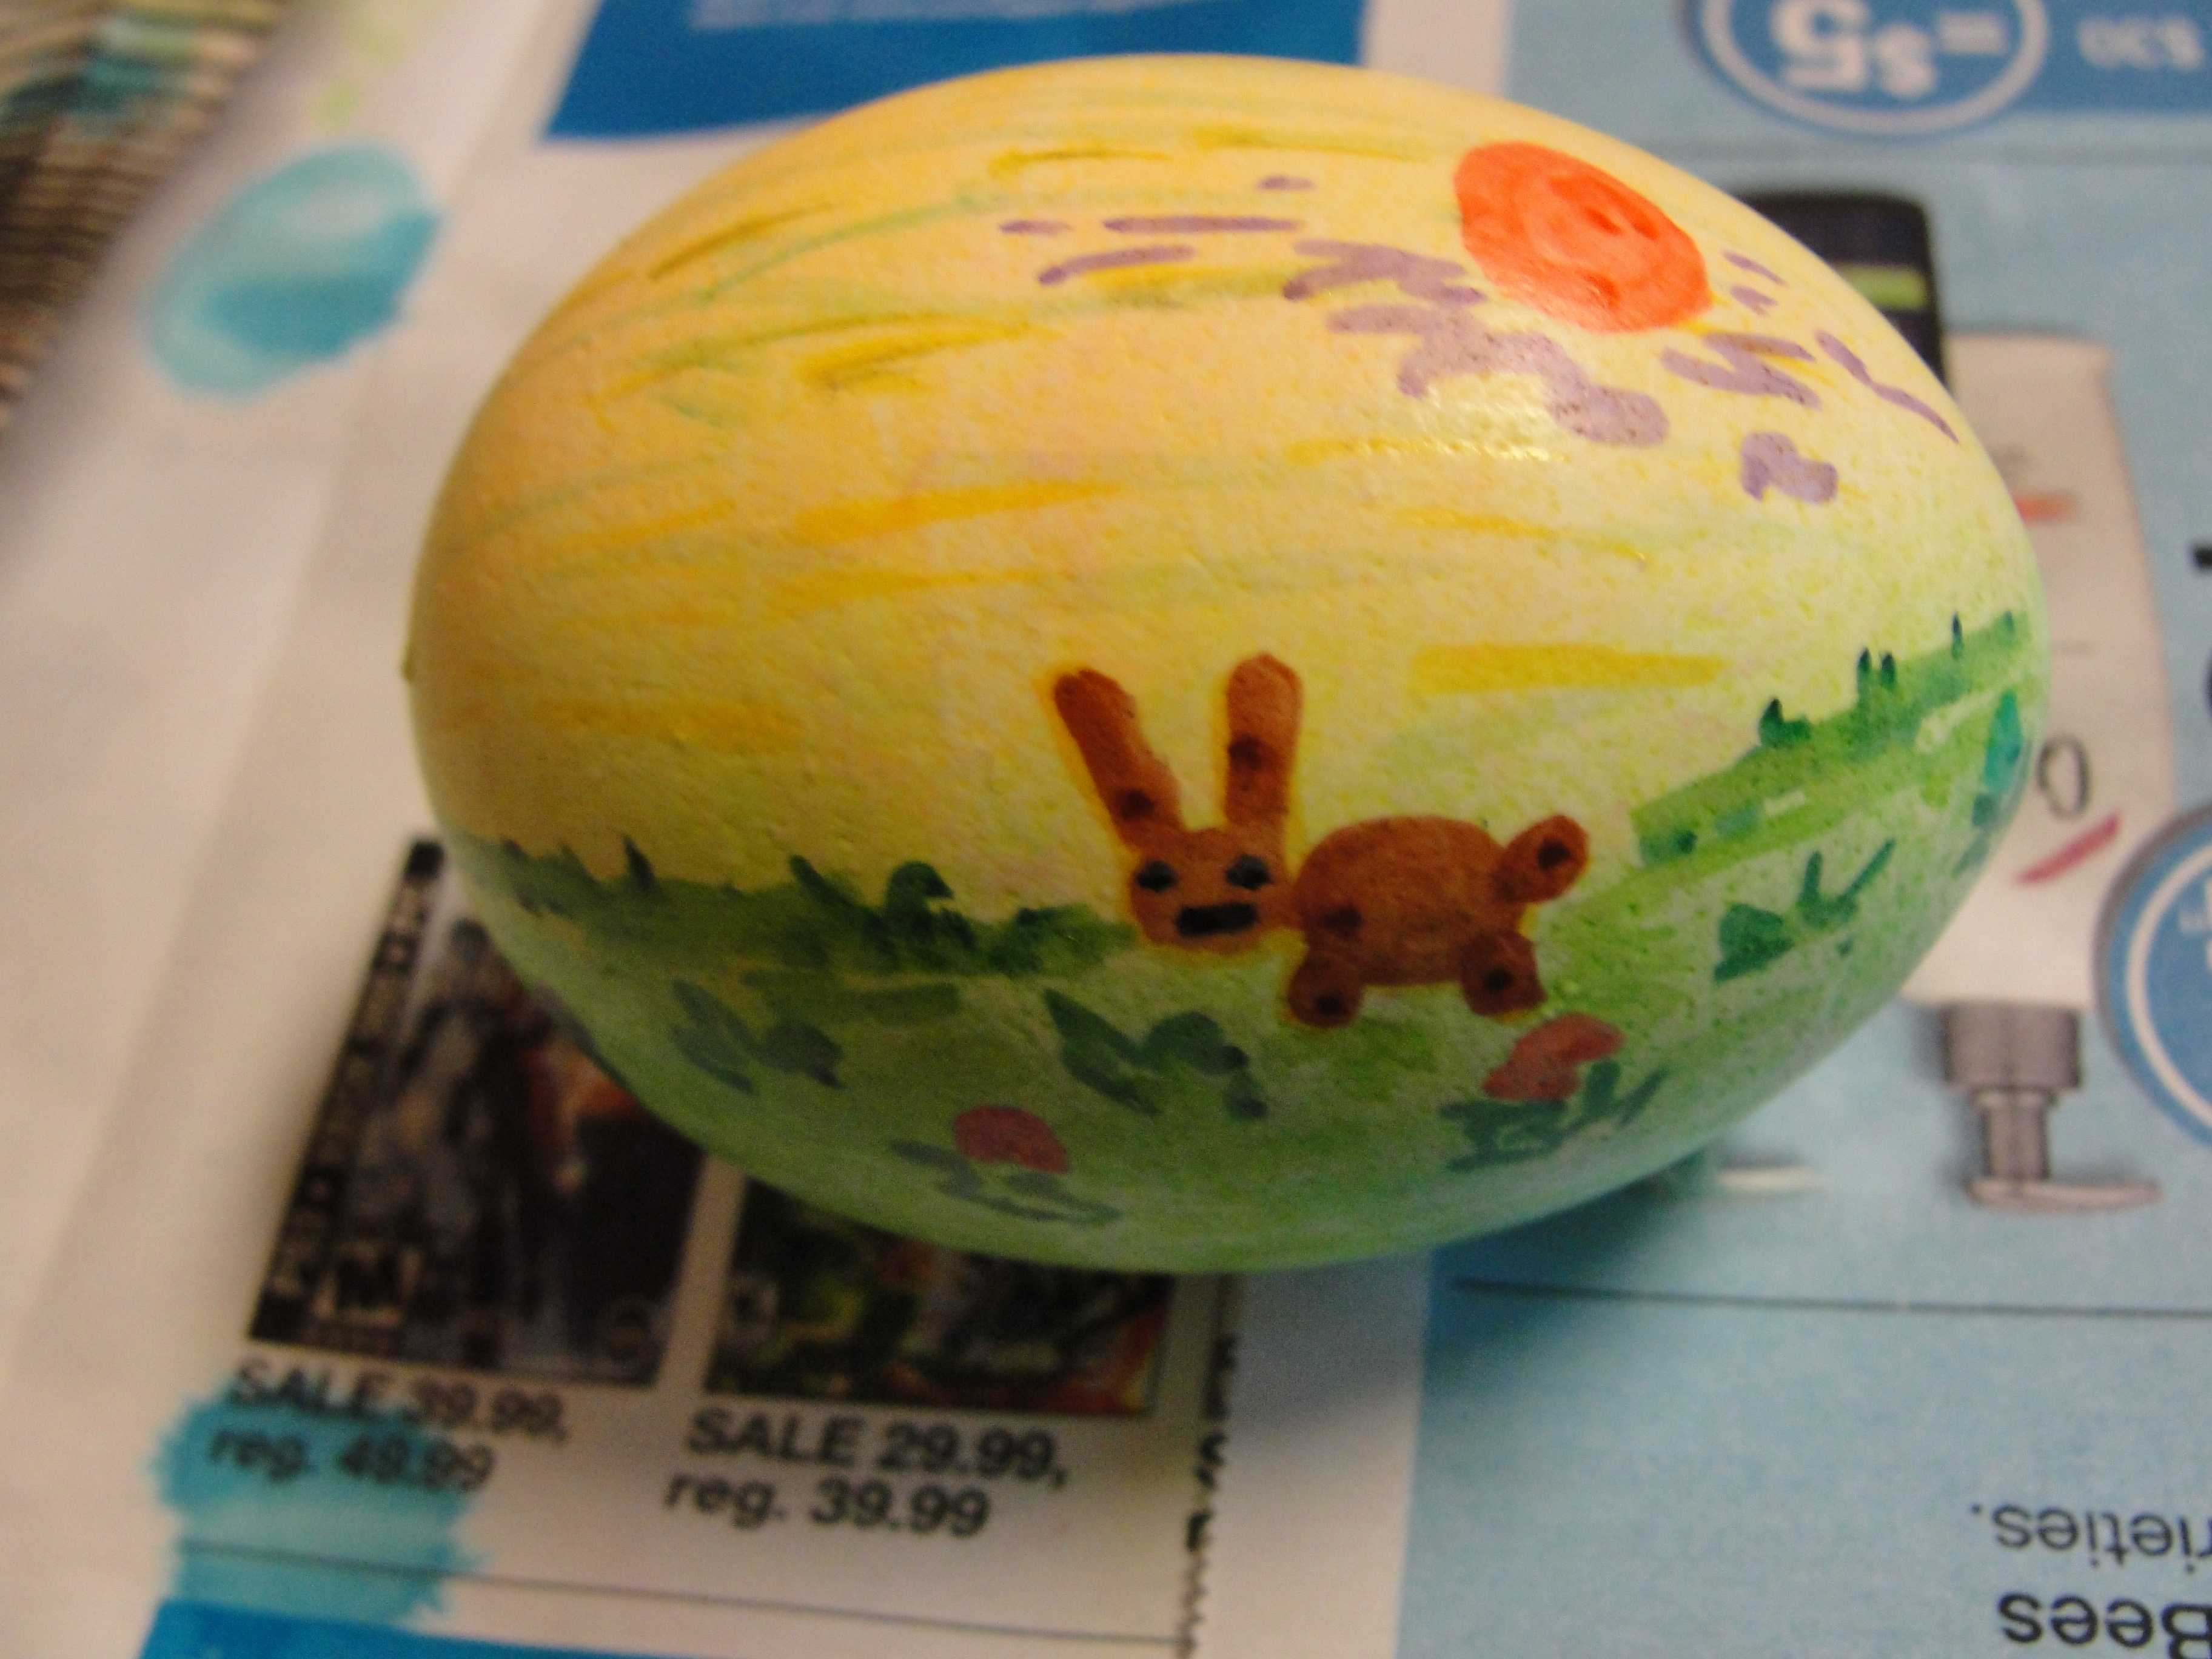
4. The Sunset Egg
Supplies:
- Hardboiled egg
- Easter egg dye
- Permanent markers
Dip half of the egg in green dye horizontally. Turn the egg over and dip the other half of the egg horizontally. Allow the egg to dry. Use permanent markers to draw on grass, a sun, and whatever else you would desire in a easter sunset. A good start would be not drawing snow.
If you need some inspiration, here’s a video on Ōkunoshima, otherwise known as Rabbit Island, which is loacted in the Inland sea of Japan.
Permanent markers are an amazing tool to use when you dye eggs. Just allow a dyed egg to dry and then add pops of color just by using colored markers!
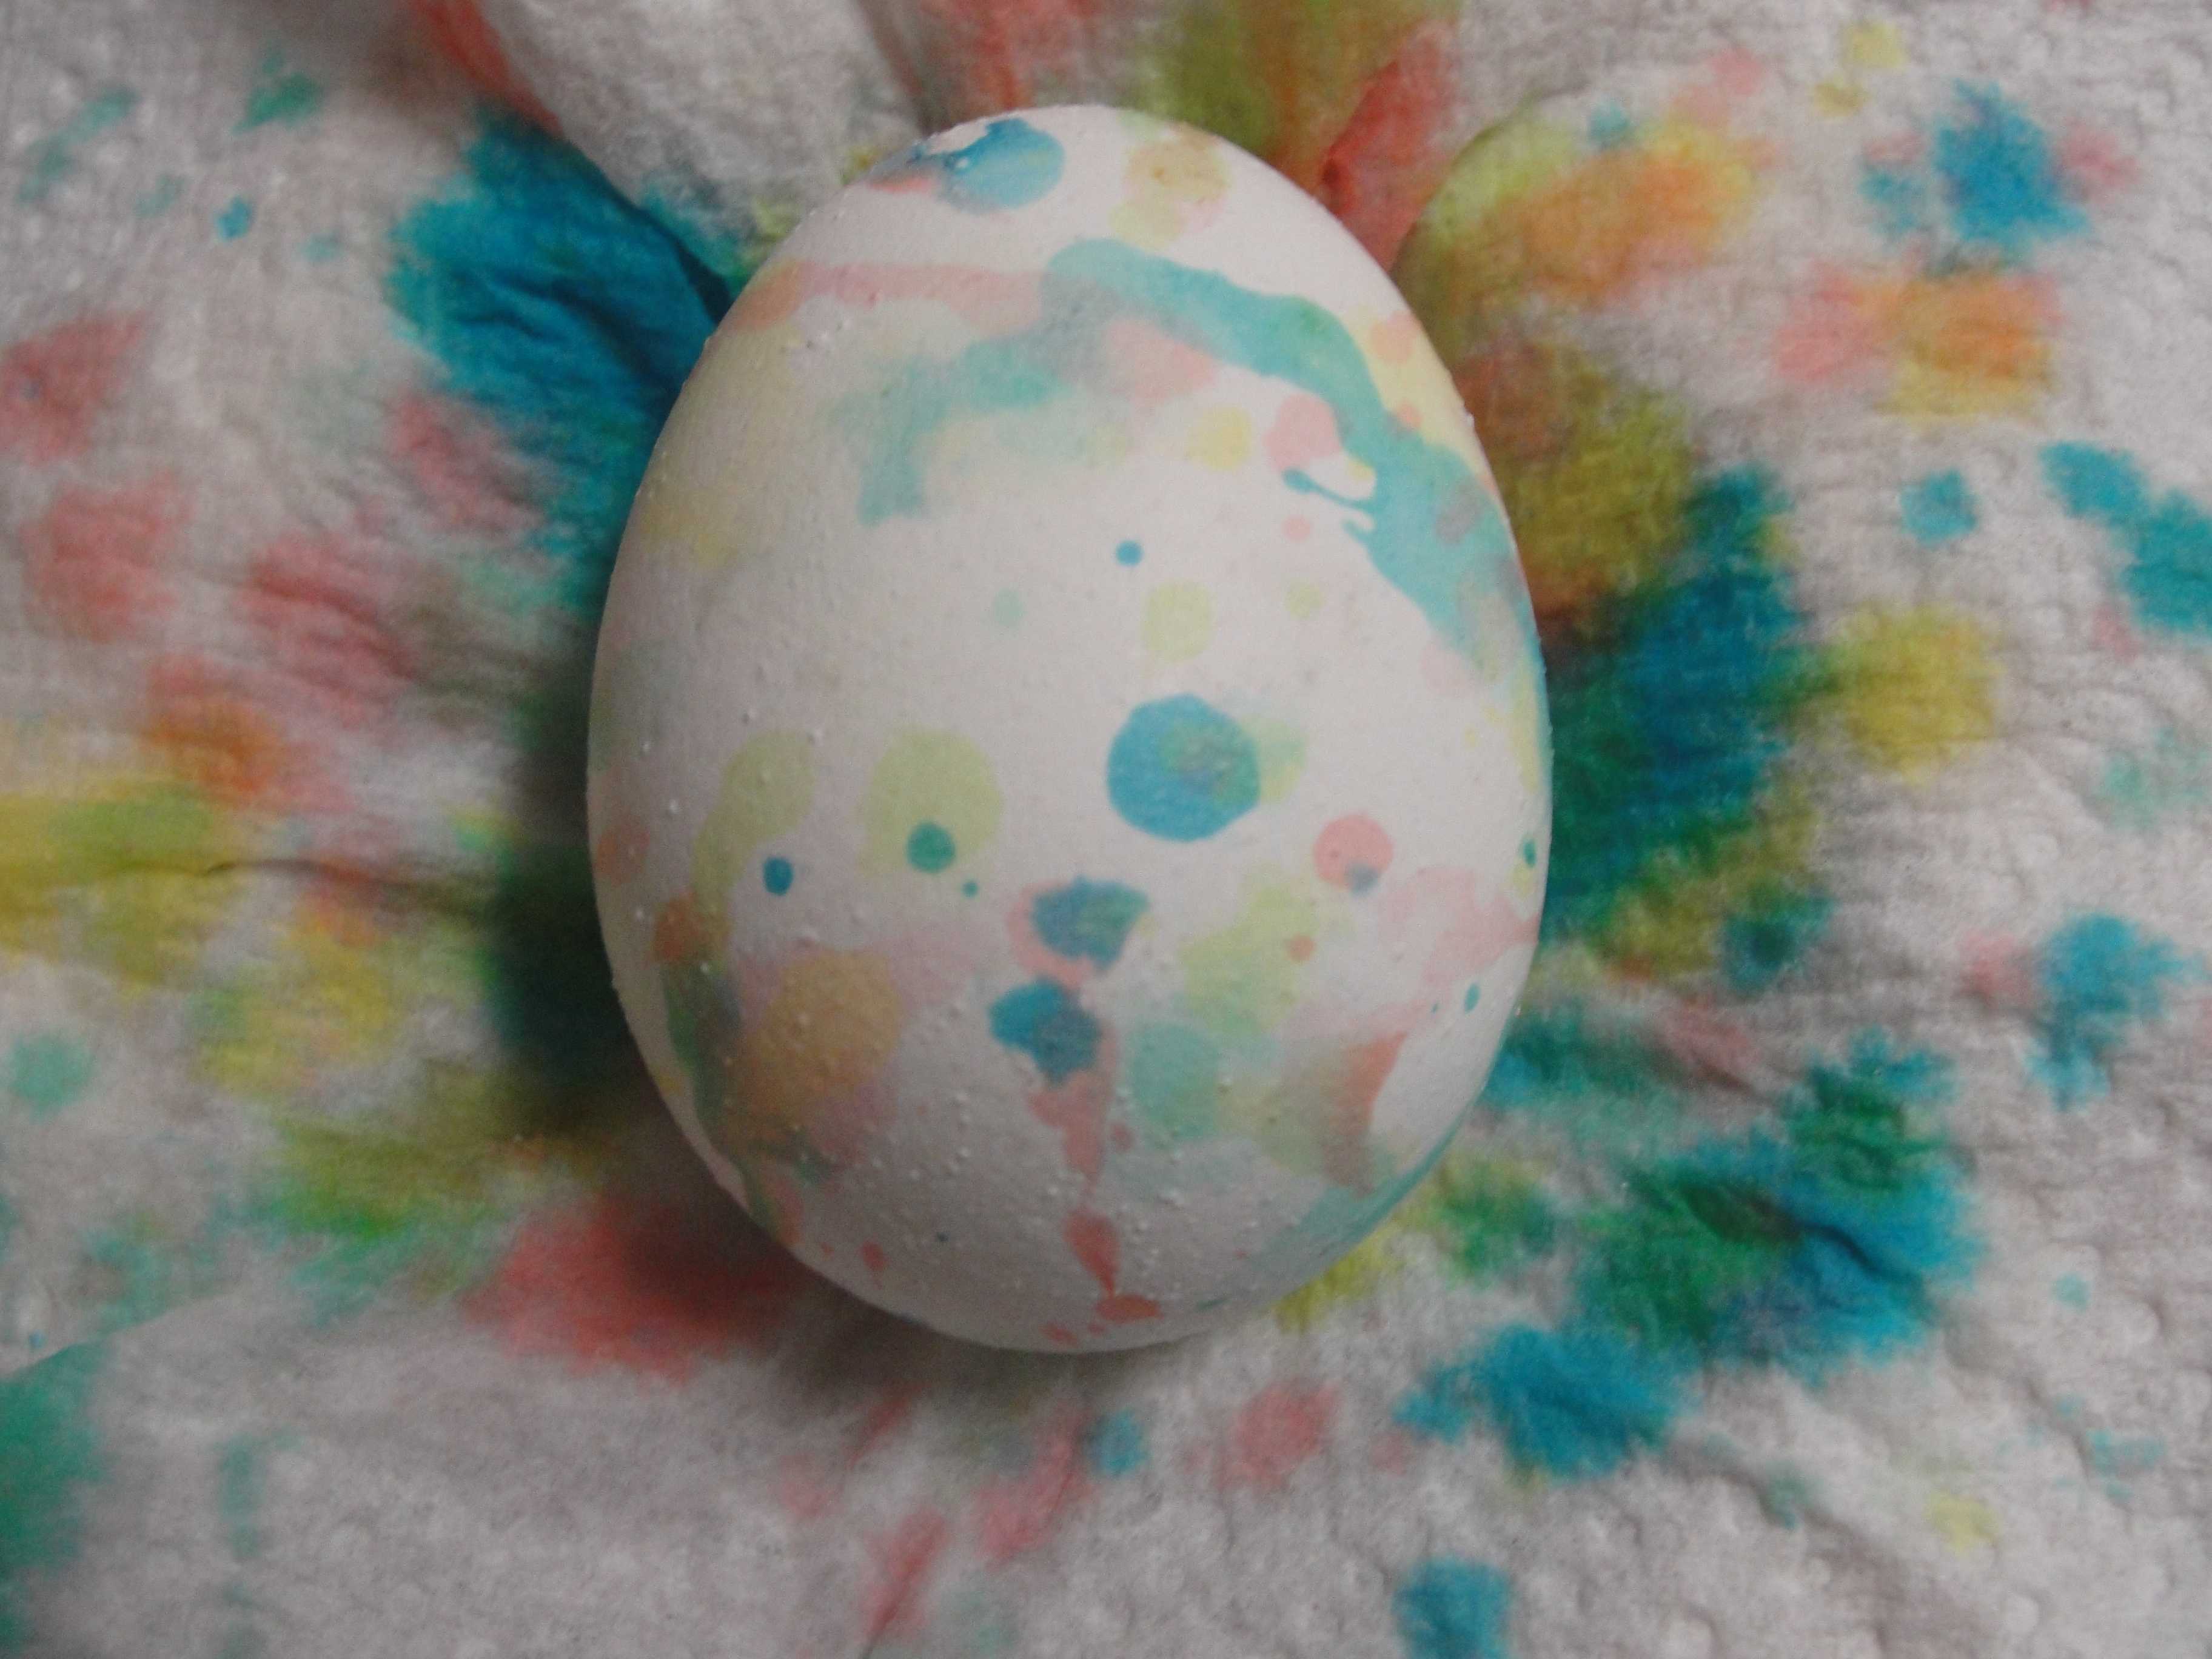
5. The Jackson Pollock Egg
Supplies:
- Hardboiled egg
- Easter egg dye
- Plastic utensil
Place the plain white hardboiled egg on newspapers. Dip a plastic utensil (I used a plastic knife) in a colored egg dye. Quickly remove utensil and drip or splatter dye onto the egg.
Have fun egg dyeing and happy Easter!