Let there be light! with HDR

September 25, 2015
There are many different ways of editing photos using Adobe Photoshop. There is a very simple way to make your photos more detailed and complex, giving them a Higher Dynamic Range.
What does that mean, you may ask? Well, HDR gives photos a more complex and structured look. Using Photoshop, you will be able to give your photos a crisp, detailed look in less than two minutes and less than 12 steps! Here’s what you need to do:
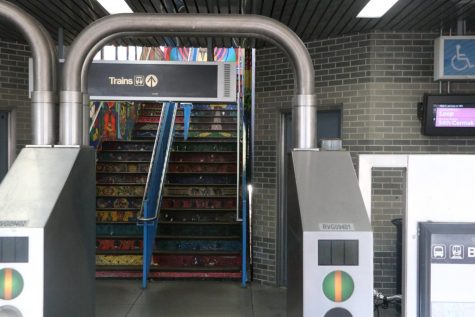
1. Open an image in Photoshop
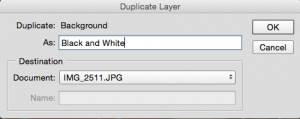
2. Duplicate the background layer of the image
– name that layer ‘Black and White’
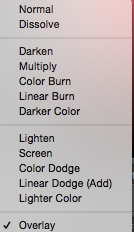
3. Change the format of ‘Black and White’ from normal to overlay
– option available in “layers”
4. Desaturate the photo
– Image → adjustments → desaturate
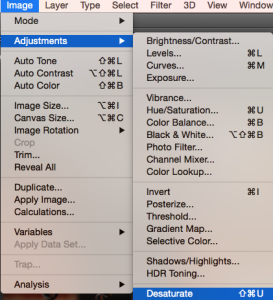
The shortcut is ‘Command-Shift-U”
5. Invert the photo
– Image → adjustment → invert
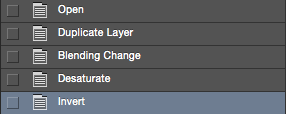
– The shortcut is ‘Command-I’
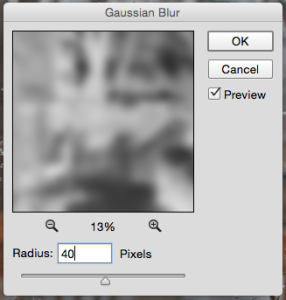
6. Blur the photo
– Filter → Blur → Gaussian Blur
– Radius: 40 pixels
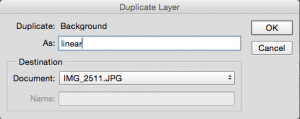
7. Duplicate the background layer again
– rename it ‘linear’
8. Move the linear layer above the black and white layer
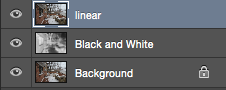
9. Change the format of the layer to ‘Linear Light’
10. Decrease the opacity to make it between 15% – 23%
![]()
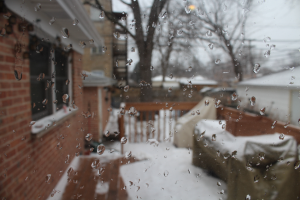
You’re done!
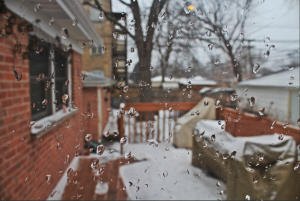
In just 10 easy steps, your photos can transform from normal and unedited to crisp and detailed!